







 Client reviews from
 Creating a Multipurpose Wellness Room to Boost Fitness and Relaxation
(By Dorothy Watson, Mental Wellness Center)
(For Atlanta Coaching & Hypnotherapy Associates)

By Dorothy Watson, Mental Wellness Center
info@mentalwellnesscenter.info

Busy homeowners trying to stay consistent with movement, stress relief, and downtime often hit the same wall: most homes do not have space for separate rooms dedicated to fitness, recovery, and relaxation. The result is a cycle of cluttered equipment, compromised comfort, and routines that fade when the room never feels ready to use. A multipurpose wellness room solves this by using thoughtful home remodeling and wellness space design to support fitness recovery relaxation in one adaptable area. The payoff is a single room that makes daily wellness feel easier to start and simpler to maintain.
What a Multipurpose Wellness Room Really Means
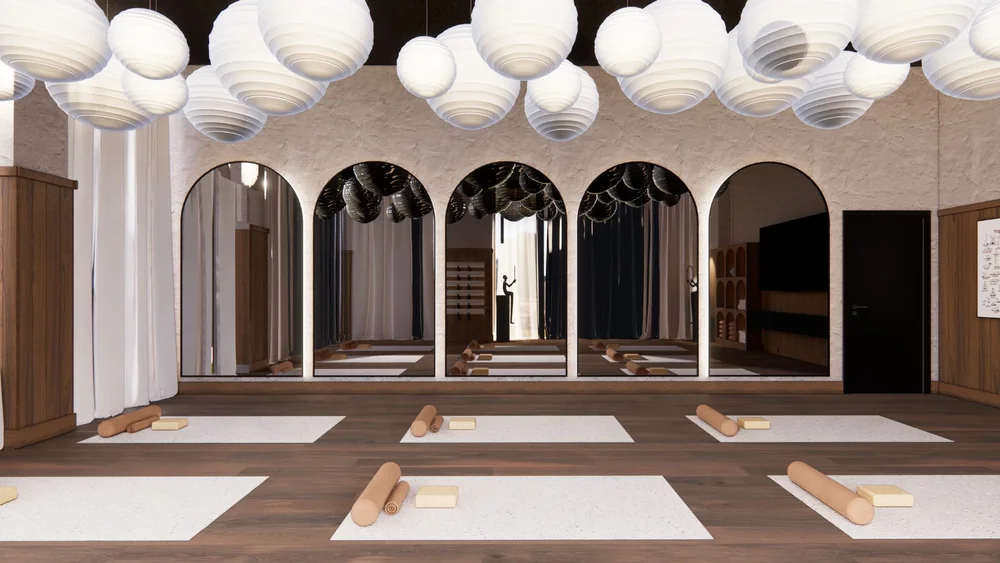
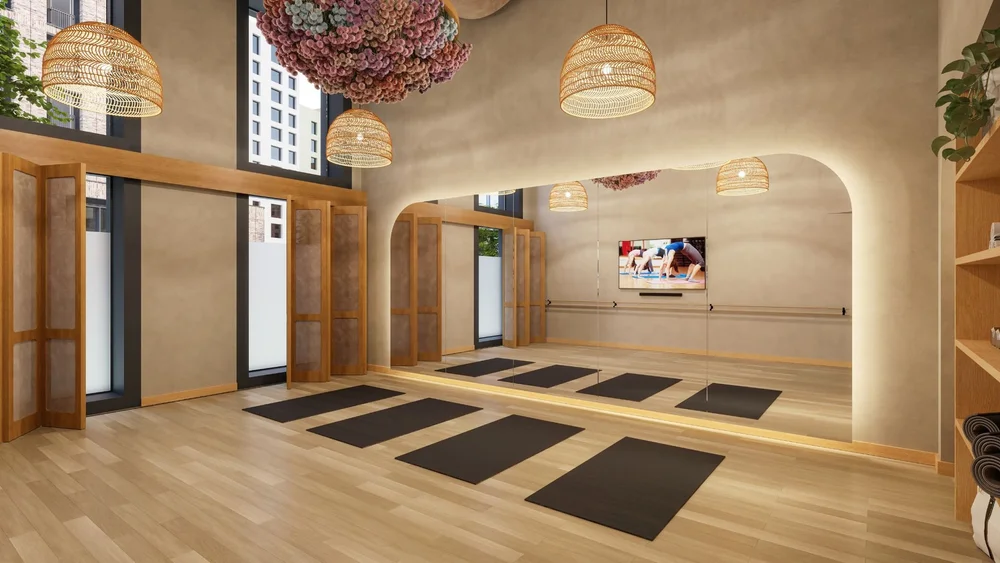
A multipurpose wellness room is a single area designed to adapt, not specialize. It supports movement, recovery, and calm without asking you to spread routines across the house. Holistic wellness design treats the room as a system, blending comfort, function, and mood.
This matters because your body and mind respond to fewer barriers. When equipment stores cleanly, lighting feels soothing, and layouts shift fast, you use the room more often and with less friction. Flexible design principles also solve common space problems like tight footprints, shared family use, and visual clutter.
Picture a spare room that flips in minutes. A fold-away bench and rolling storage create workout space, then a mat, dimmable light, and soft seating set up decompression. The same room supports integrated training and recovery without feeling cramped. With the layout defined, smart budget planning helps avoid costly surprises after the remodel.
Protect Your Remodel Budget From Post-Project Breakdowns
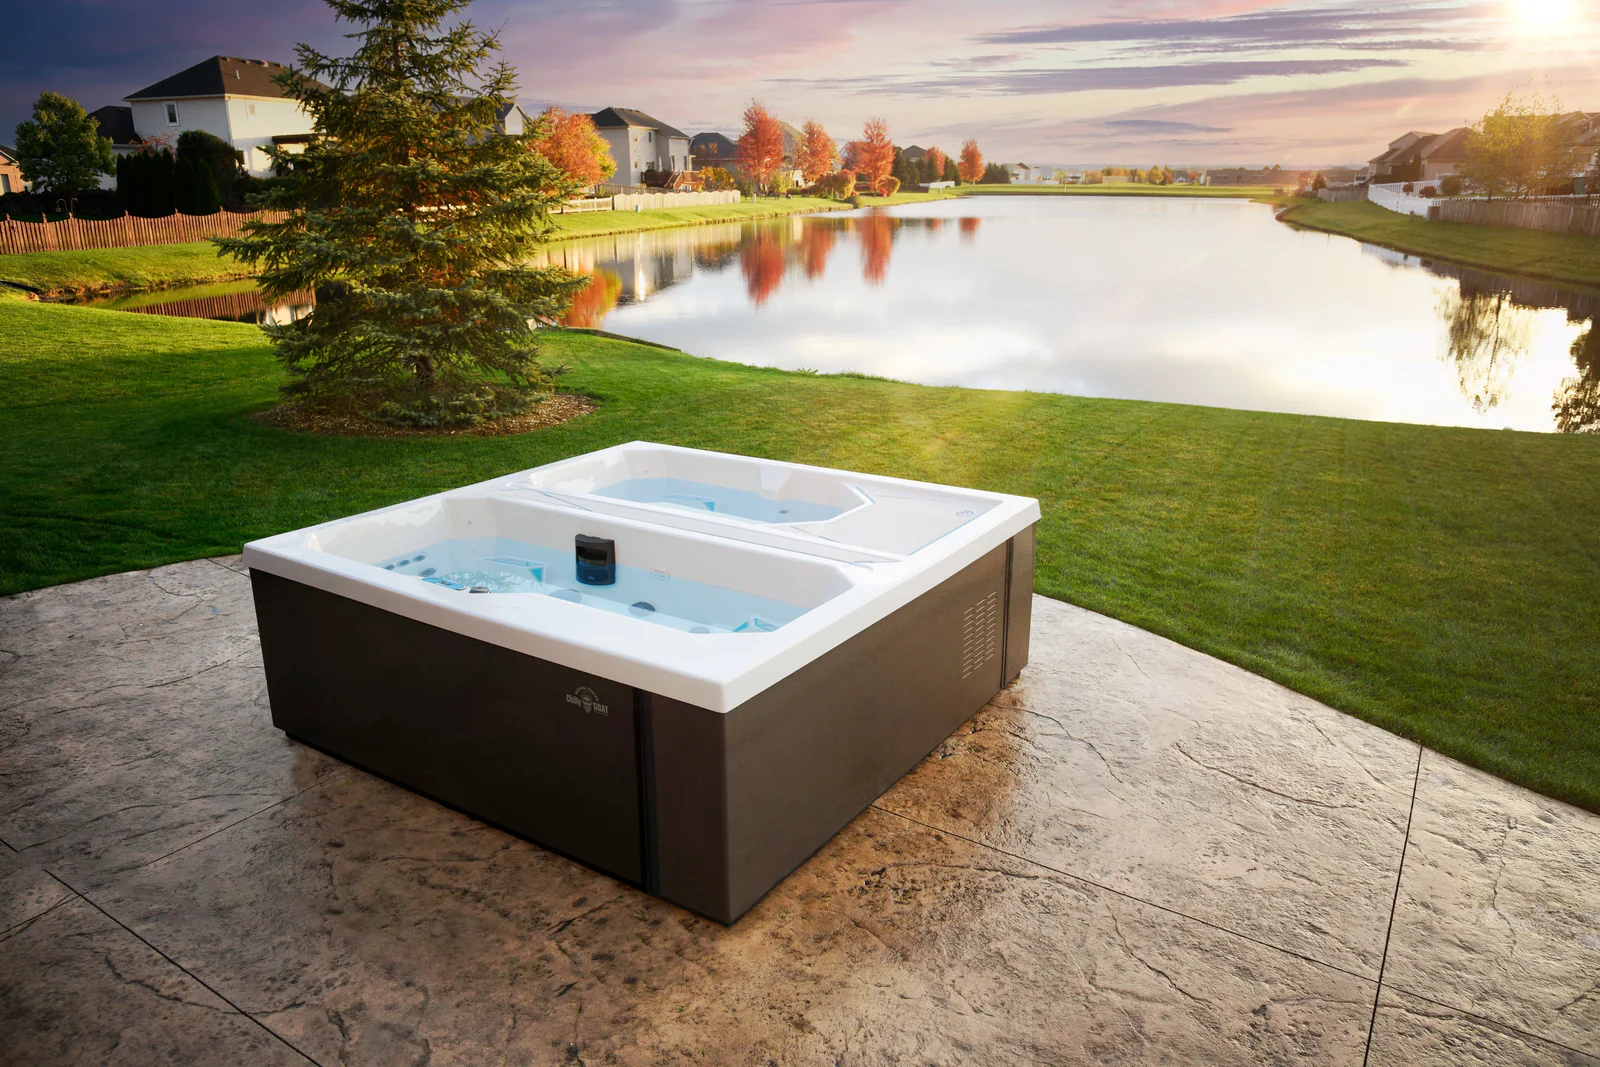
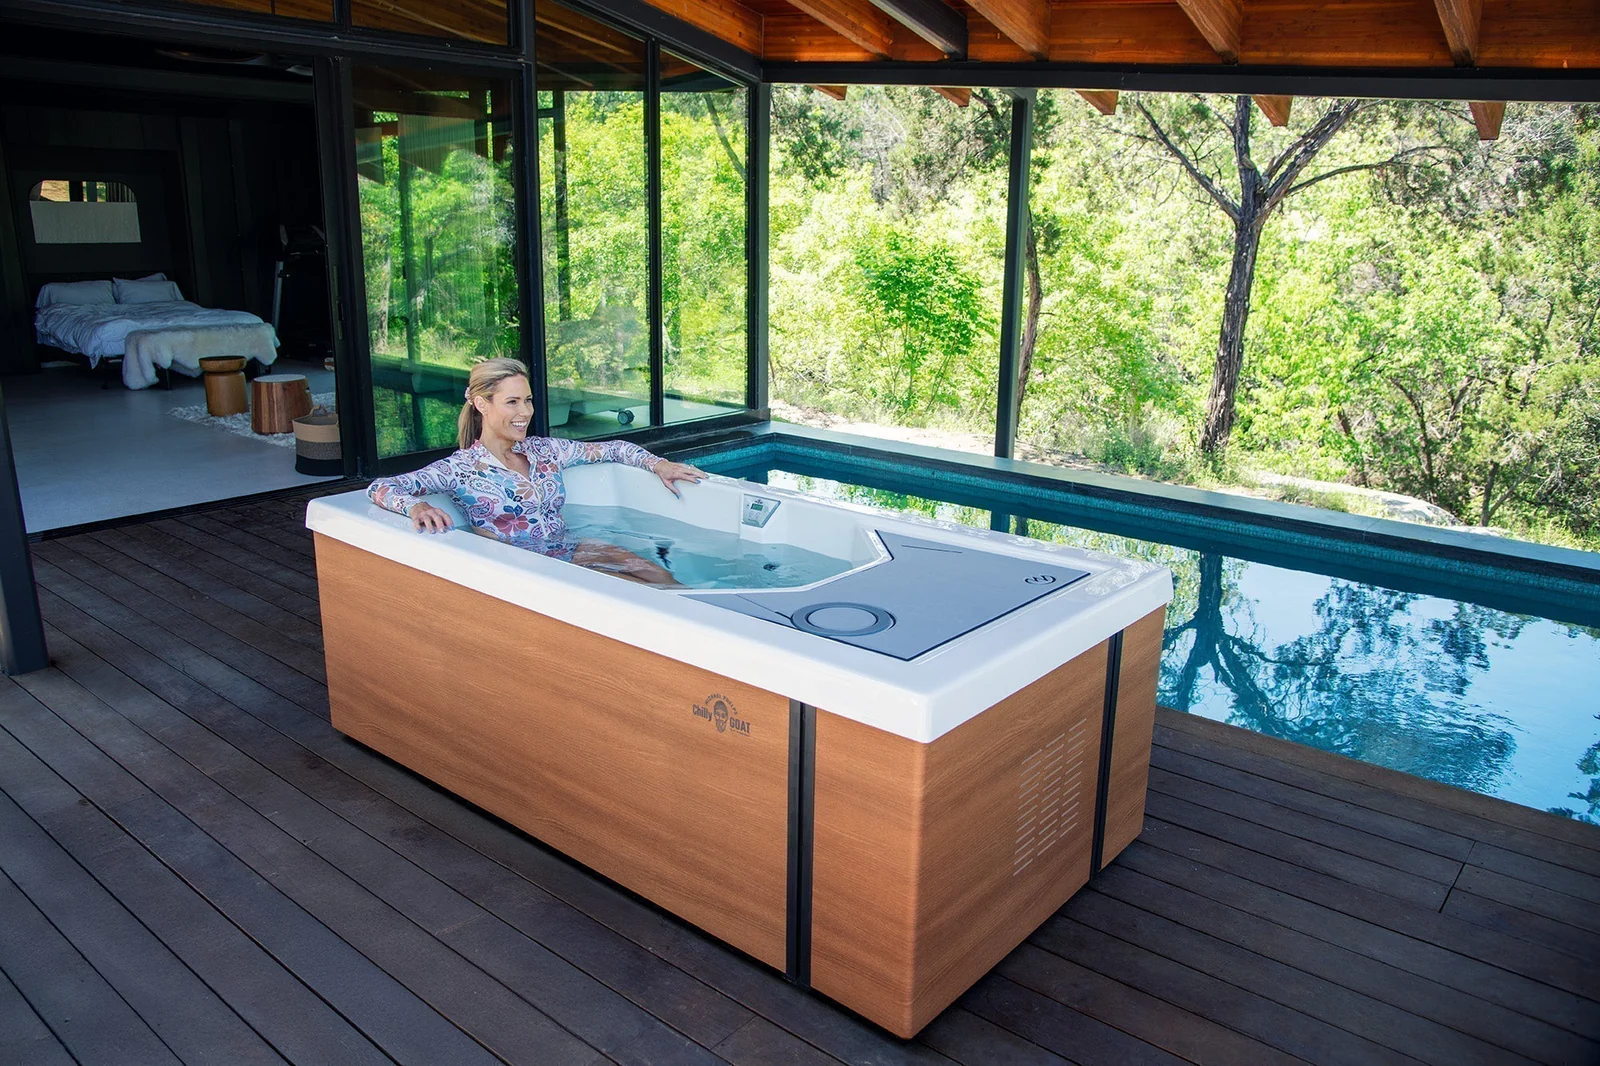
Designing a wellness room to be truly usable day after day also means budgeting for what happens after the remodel is finished. When a space supports regular workouts, recovery, and relaxation, the systems behind your comfort can end up working harder over time, especially heating and cooling, along with the electrical system powering lights and equipment. Like any heavily used part of a home, that increased workload can contribute to normal wear and tear and, eventually, an inconvenient breakdown.
That’s where a home warranty service agreement can fit into your overall planning. If you select a homeowner warranty plan, homeowners may be able to soften the financial hit if a covered home system needs repair or replacement, instead of facing a surprise bill right after investing in upgrades. With that protection in mind, you can move into the remodeling details, layout, storage, lighting, and materials, knowing the essentials that keep the room functional are part of the plan.
Use a 4-Part Plan: Layout, Storage, Lighting, Materials
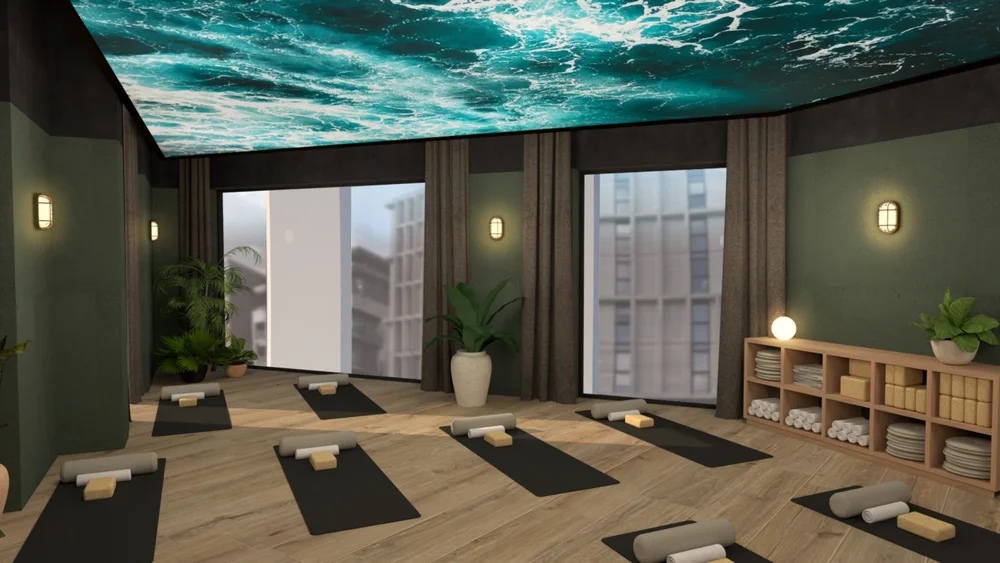
A flexible wellness room works when every design choice supports quick changeovers: workout, recovery, and everyday living. Use a simple four-part plan so your spending stays focused on upgrades you’ll actually maintain after the remodel.
- Map a 3-zone layout: Define a “move zone” (open floor), a “recovery zone” (mat/seat), and a “support zone” (storage, water, towels) in your wellness room layout. Keep the move zone as a clear rectangle you can reset in under two minutes, even if the room is shared. Place recovery where it’s naturally quiet, away from doors and vents, so stretching and breath work feel calmer.
- Protect pathways and door swings: Tape a temporary outline of furniture and equipment, then walk the room carrying a yoga mat or laundry basket to find pinch points. Leave a clear route to the door and any closet so you don’t create daily friction that leads to clutter piles. This is also a budget-control move: avoiding tight clearances reduces the odds you’ll need post-project fixes like rehanging doors or moving outlets.
- Install “one-touch” storage that hides mess fast: Prioritize closed cabinets, bins, or a bench with lift-top storage so the room can look finished even when you’re tired. Use clear containers for small items like bands, grips, and chargers, then label by activity (Strength / Mobility / Recovery). A simple rule is one shelf per function so equipment returns to the same spot every time.
- Build a declutter trigger into your routine: Use the one thing in and one thing out rule for gear upgrades so the room doesn’t slowly fill with duplicates. Keep a donation bag or “relocate” bin in the closet and empty it monthly. This small habit supports uncluttered space design without requiring a full reset.
- Layer natural and artificial lighting for all modes: Put daytime movement near windows, then add dimmable overhead lighting plus a softer lamp for recovery sessions. Aim for even, shadow-free light where you lift or do balance work, and warmer, lower light where you stretch to signal “downshift.” If your electrical plan is still flexible, pricing dimmers and extra circuits early helps prevent expensive post-remodel changes.
- Choose durable eco-friendly materials you can wipe clean: Use low-VOC paint, formaldehyde-free cabinetry, and flooring that tolerates sweat and disinfecting, sealed cork, linoleum, bamboo, or a well-finished wood with a washable rug. Pick a matte, scuff-resistant wall finish and a backsplash-style panel behind weights or a treadmill to prevent repeated patching. Durable surfaces reduce maintenance and help you avoid surprise repair costs after the room is in daily use.
Wellness Room Remodeling Questions Homeowners Ask
Q: How can I make a small room work for both workouts and relaxing?
A: Prioritize a clear, open patch of floor that stays empty when equipment is stored. Choose compact gear that stands vertically or folds, and use a single cabinet or storage bench to “reset” the room fast. If you can only change one thing, upgrade storage first because it creates instant flexibility.
Q: What should I do if the room is shared as an office or guest space?
A: Use a “pack-away” approach: a lidded bin for workout items, a rolling cart for recovery tools, and a surface that can switch roles like a wall-mounted desk. Add a washable area rug or interlocking mats you can stack in a closet. A door hook for towels and bands keeps items off the floor.
Q: How do I reduce noise and vibration for neighbors or sleeping kids?
A: Put impact workouts on a thick rubber mat, and place heavier equipment along an interior wall when possible. Swap jumping for low-impact intervals and keep a fan or white-noise machine for sound masking. Even simple felt pads under furniture can cut rattles.
Q: What finishes make a wellness room easier to clean and maintain?
A: Pick paint with a scrubbable finish, closed storage that hides dust, and flooring that tolerates damp mopping. Add a wipeable wall panel behind weights or cardio equipment to prevent repeated scuffs. Keep cleaning supplies in the room so a two-minute wipe-down is effortless.
Q: How much should I budget for a wellness room remodel?
A: Costs vary widely, so start by listing your “must-haves” for function, not aesthetics: lighting control, durable flooring, and storage. The fact that Americans spent heavily on remodeling in 2024 is a reminder that scope creep is common, so lock your priorities early and phase upgrades if needed.
Start Small to Create a Flexible Wellness Room That Lasts

Most homes need one room to do more than one job, yet clutter, poor lighting, and limited storage can make fitness and relaxation feel incompatible. A thoughtful home remodeling approach treats the wellness room as a multipurpose system, clear zones, durable finishes, and simple storage, rather than a single-use setup. When these choices align, the space supports long-term well-being while staying easy to reset and maintain, improving daily use and space efficiency. A flexible wellness room works when comfort and function are planned as one.


0 Comments